

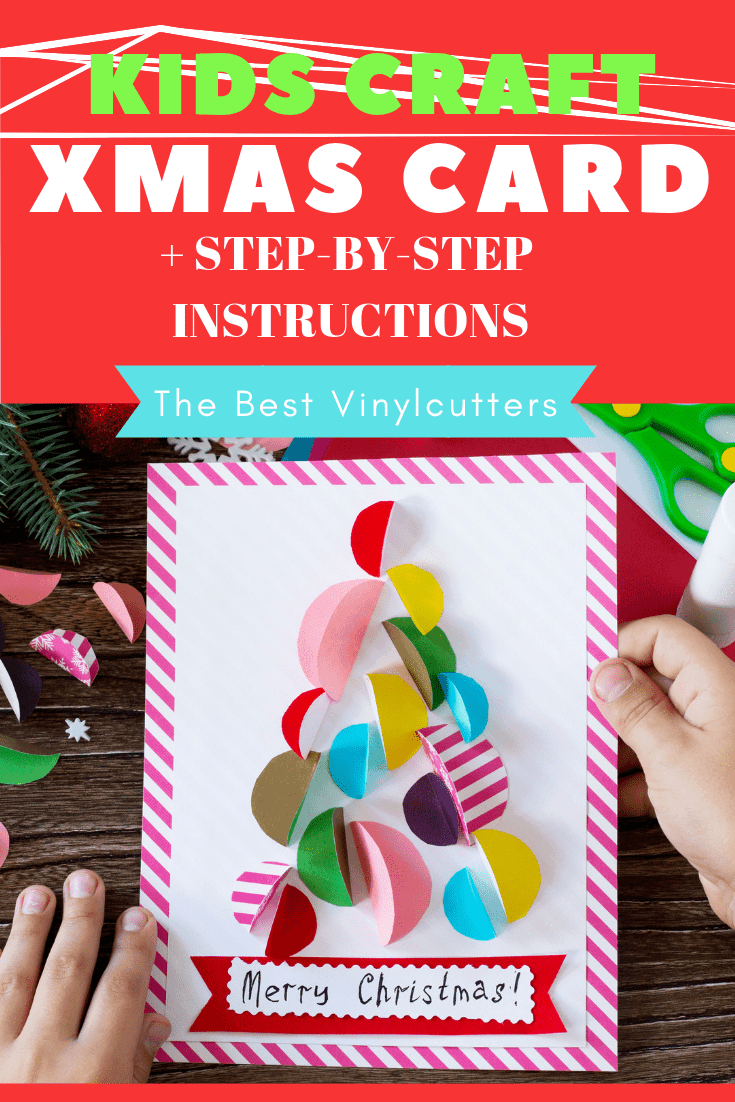
Fun and Easy DIY Christmas Card Craft Idea for Kids (or Adults)
Looking for really fun and easy Christmas card to make with your kid/s?
Our DIY Christmas Card Craft for kids is perfectly geared for children aged 8+. You will be able to enjoy this project with kids of younger age, however, I would expect that you would need to be more hands-on with helping out during each step.
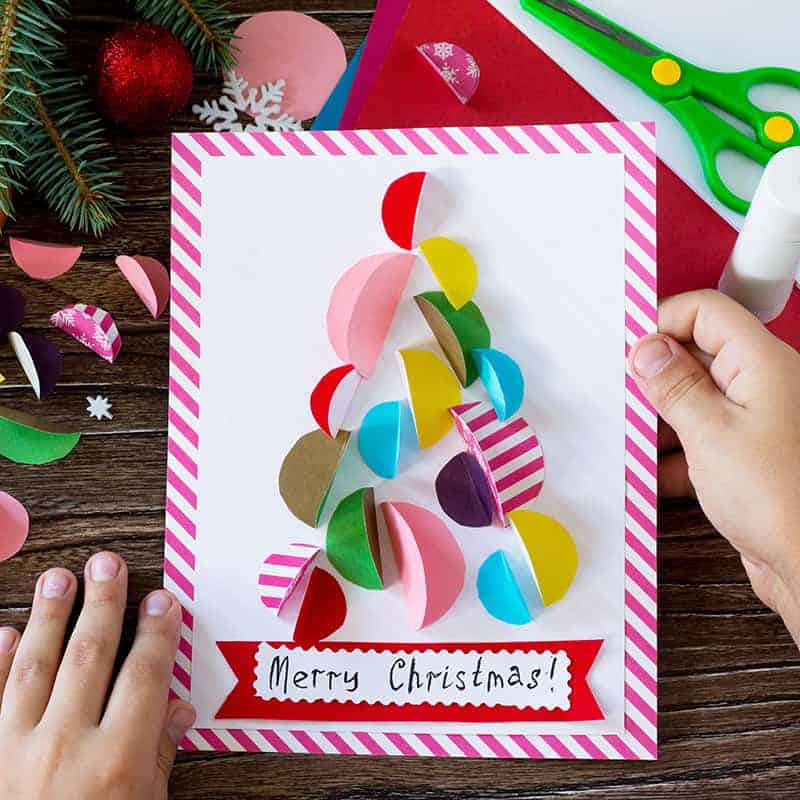
You can find the full step-by-step tutorial on how to create this gorgeous Christmas card below.
DIY Christmas Card Craft Idea for Kids
Find below the supply list as well as the step-by-step tutorial to show you how you can create this easy and beautiful Christmas card.
–
Supply List:
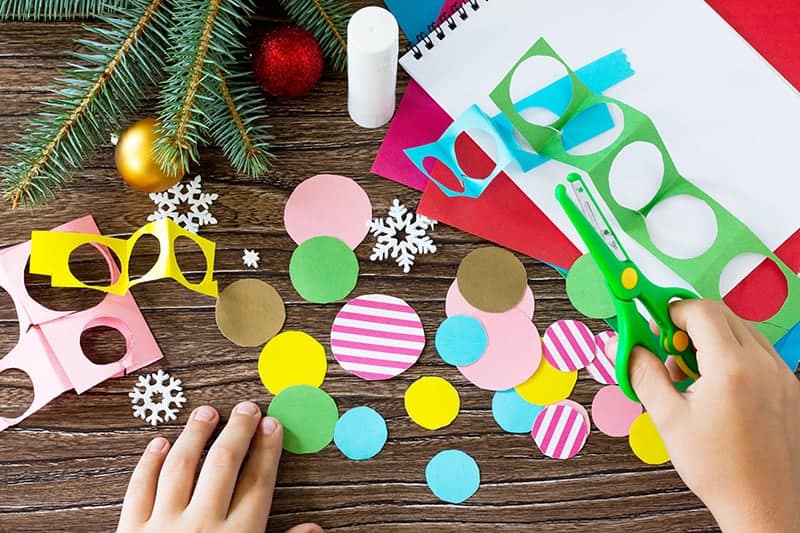
Easiest Ways to Create your Circles:
Here are a few ways in which you can easily create some circles for the card.
Instructions:
Step 1: Grab your patterned piece of paper and trim it down to an A4 size.
Fold this sheet in 1/2 to make a card. Set aside the rest of the patterned paper so you can use it to make circles for the tree.
Step 2: Trim down your white cardstock to around 5″ x 7.5″. Glue this piece down in the center on the front of your card.
Step 3: Create around 20 circles in different sizes and from a range of colors. We love to mix up solid colors with some double-sided patterned paper.
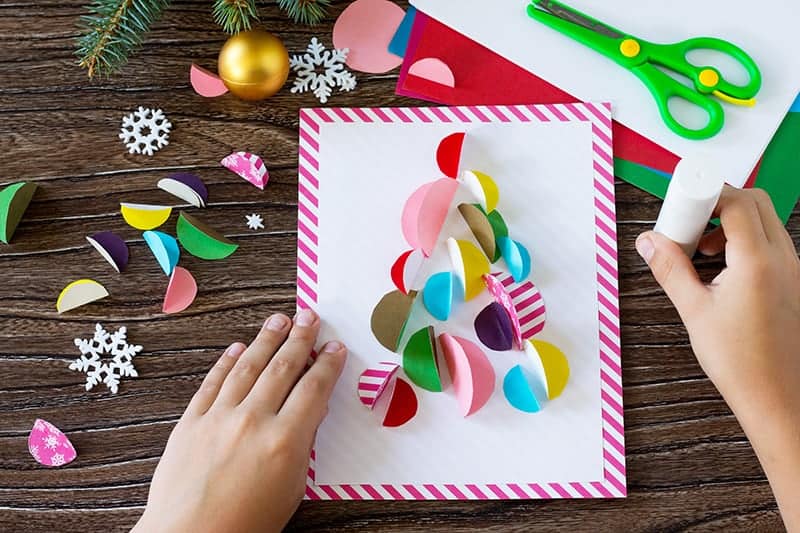
Step 4: Fold each of these circles in half.
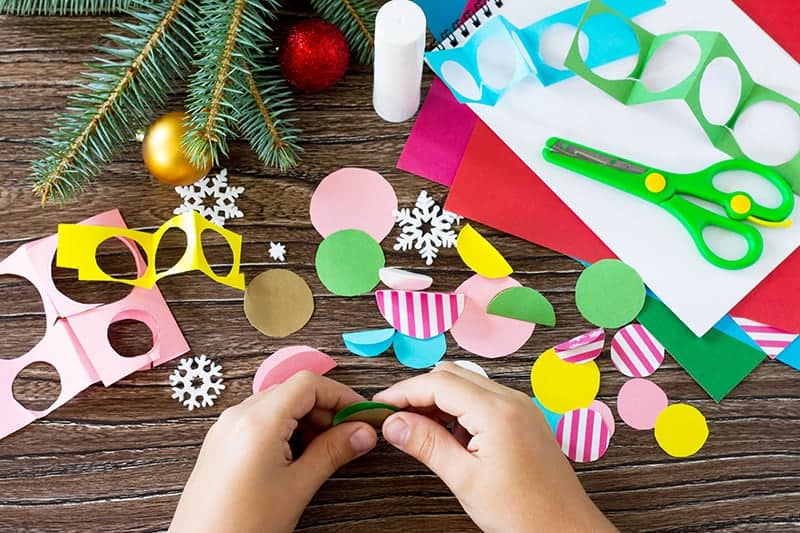
Step 5: Pop glue on one-half of the circles and glue these down in a triangle/tree shape on the patterned paper.
Tip: If your child is younger, you might wish to lightly draw a triangle shape on the cardstock so that your child can work inside the space.
Step 6: Cut down a red piece of cardstock to around 4.5″ x 1″ in size. Cut a triangle shape out of each side of the rectangle to create a banner. (See photo below for visual example)
Step 7: With a pencil draw a rectangle on your white paper that measures 3.5″ x 1″. Use some decorative edge scissors to cut around the edge of this border. Glue this down on top of the red banner you created in the previous step.
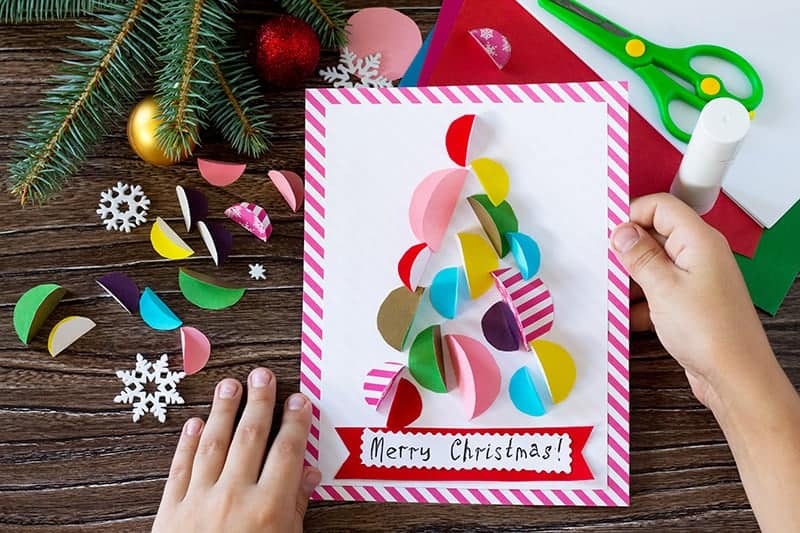
Step 8: Neatly write your Christmas message such as ‘Merry Christmas’ to finish off your card.
Alternative ideas to using circles from the paper:
If you don’t want to use paper circles, you can also create a similar card from:
How to Make this Craft Easier for Younger Kids:
If your child is younger, you can always pre-cut all the elements for them so that they only have the task of folding and gluing down all the elements.
We hope you had fun spending some quality craft moments with your child. Now the challenge is to go and whip out a few more of these cards so that there are enough for all the family members.
Till next time,
Samantha xxx
via The Best Vinyl Cutters | DIY Crafts & Machine Reviews https://www.thebestvinylcutters.com/diy-christmas-card-craft-for-kids/
