

Step-by-Step Tutorial: DIY 3D Paper Christmas Star
November is here and I bet you are all starting to count down towards that beautiful Christmas day!
Here in my house, Christmas crafts are all-go and Christmas papers and embellishments are spilling over my craft table.
Just yesterday I decided to start decorating my home a bit, so that life can feel a bit more festive. We will be away for Christmas this year, so I might just as well start decorating early so that I can enjoy the house all pretty in the festive spirit.
So today I wanted to share with you a lovely DIY Christmas Paper Star decoration. I can promise you that these are slightly painful to make, but hey, I think that the finishing result definitely pays off for the repetitious work you will have to do.
So let’s hop right into the tutorial, shall we? I found a great video tutorial that I added to the bottom of the post as well.
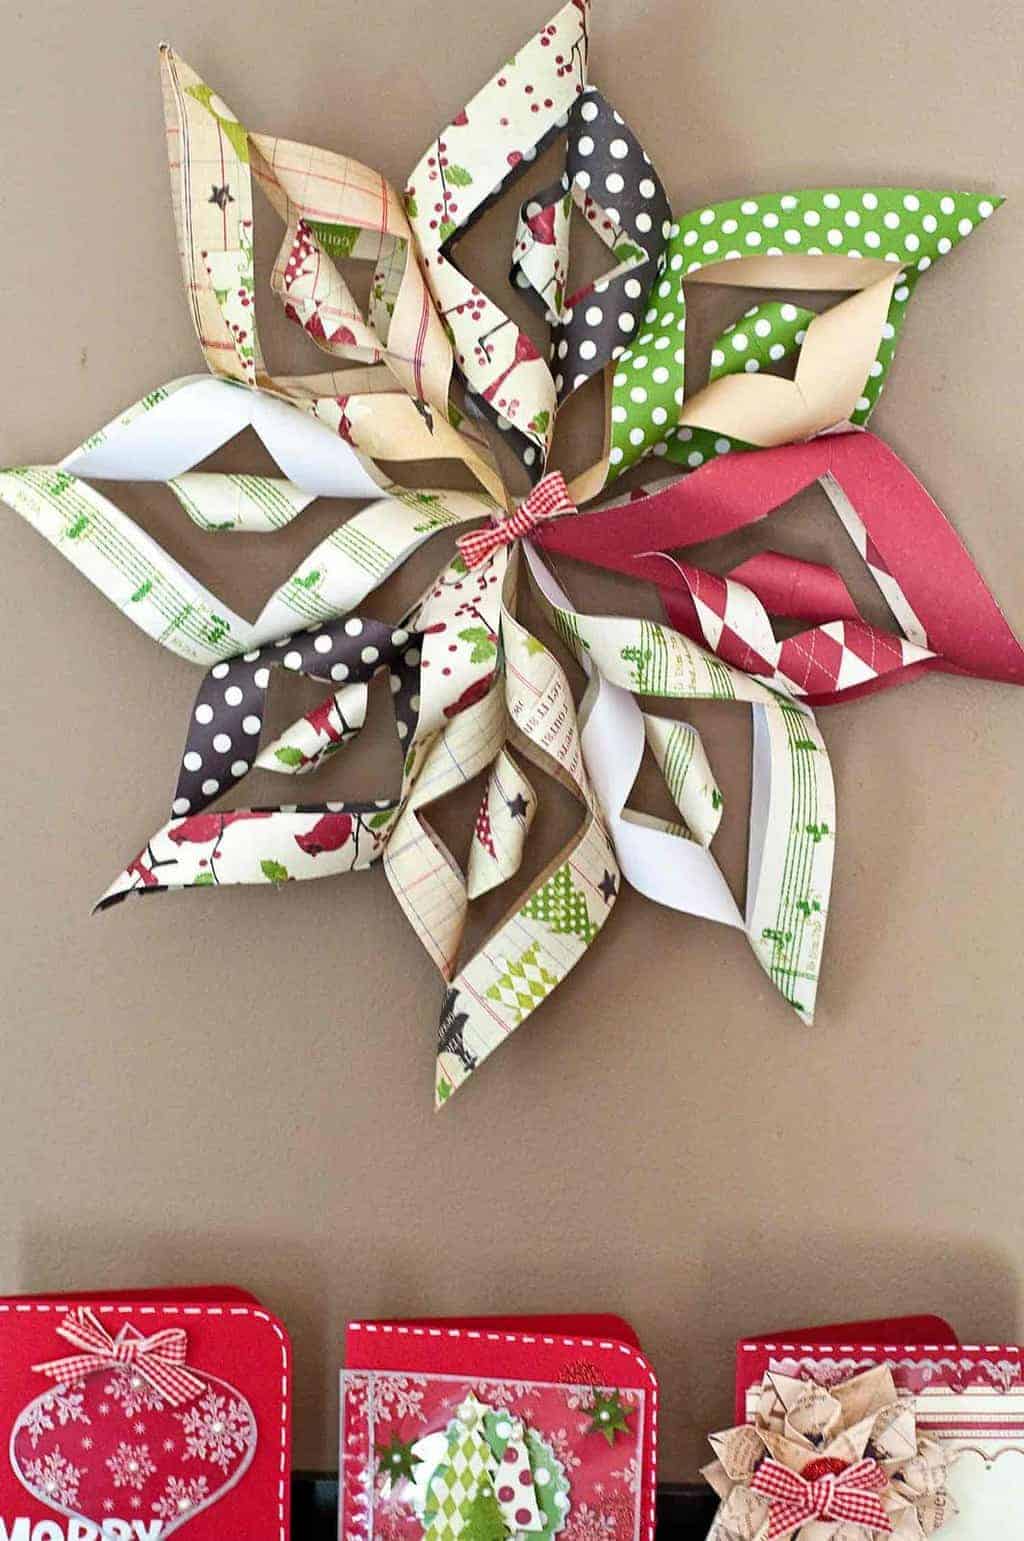
3D Paper Christmas Star
Materials Required:
DIY Christmas Star Step-by-Step Instructions:
Now that might not be as easy to follow along and I don’t think that step-by-step instructions will help either, but I found this great video tutorial on YouTube that you will be able to follow along. Use my measurements to fill in the visual instructions and you will have one beautiful Christmas star in no time at all.
Video Instructions of the DIY Christmas Paper Star
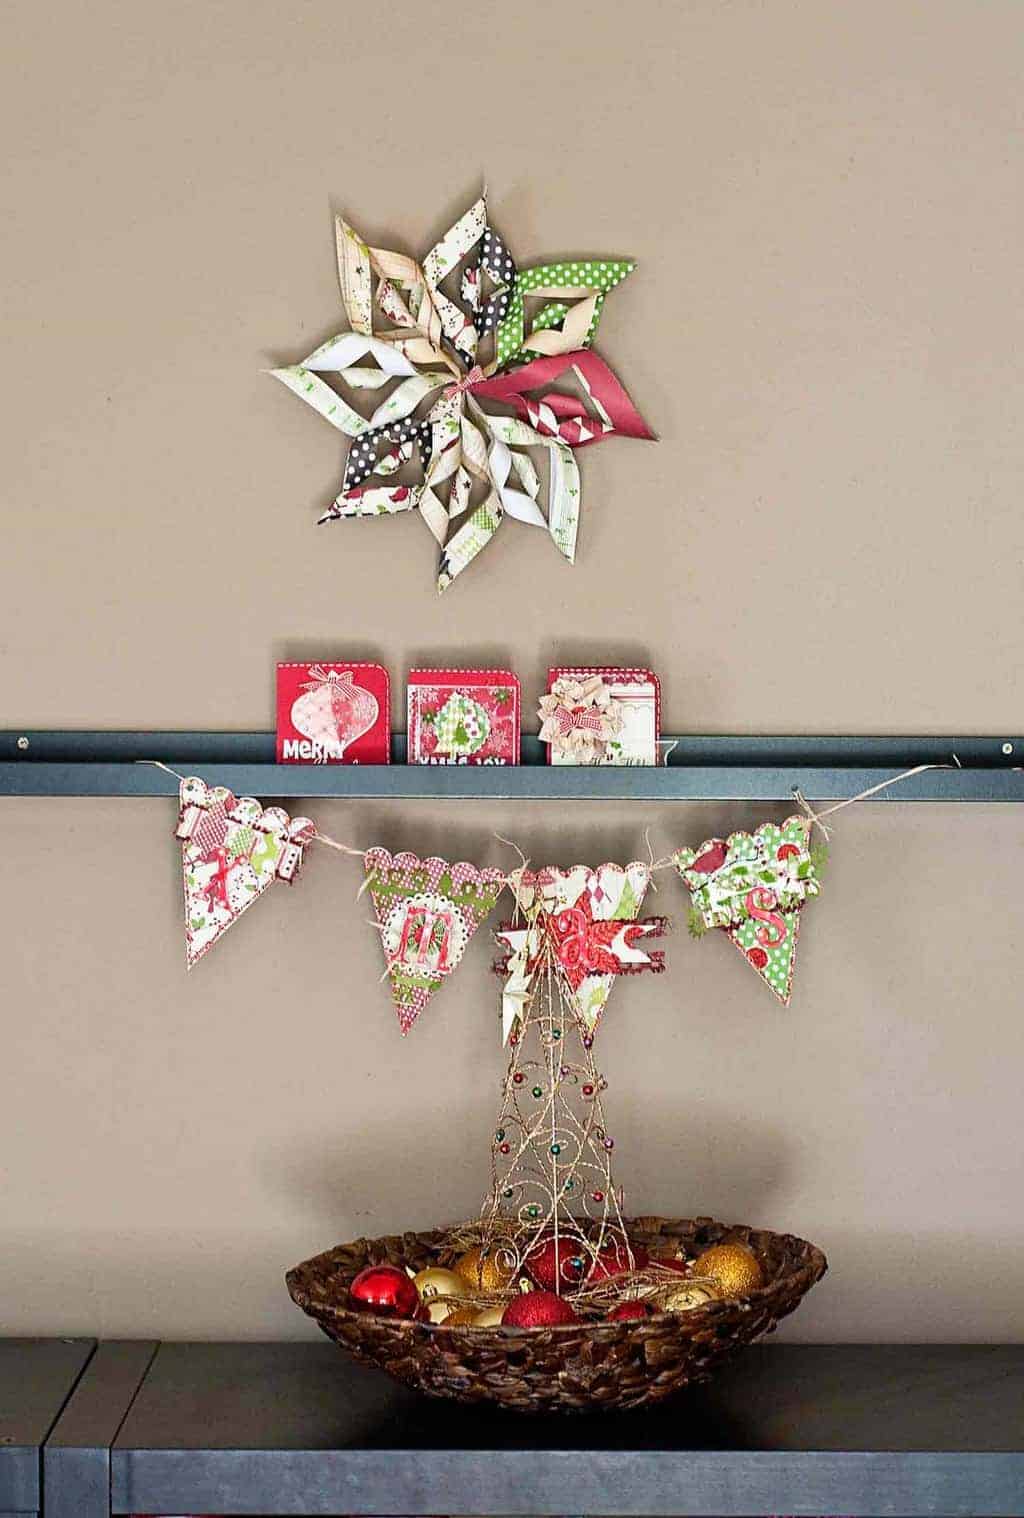
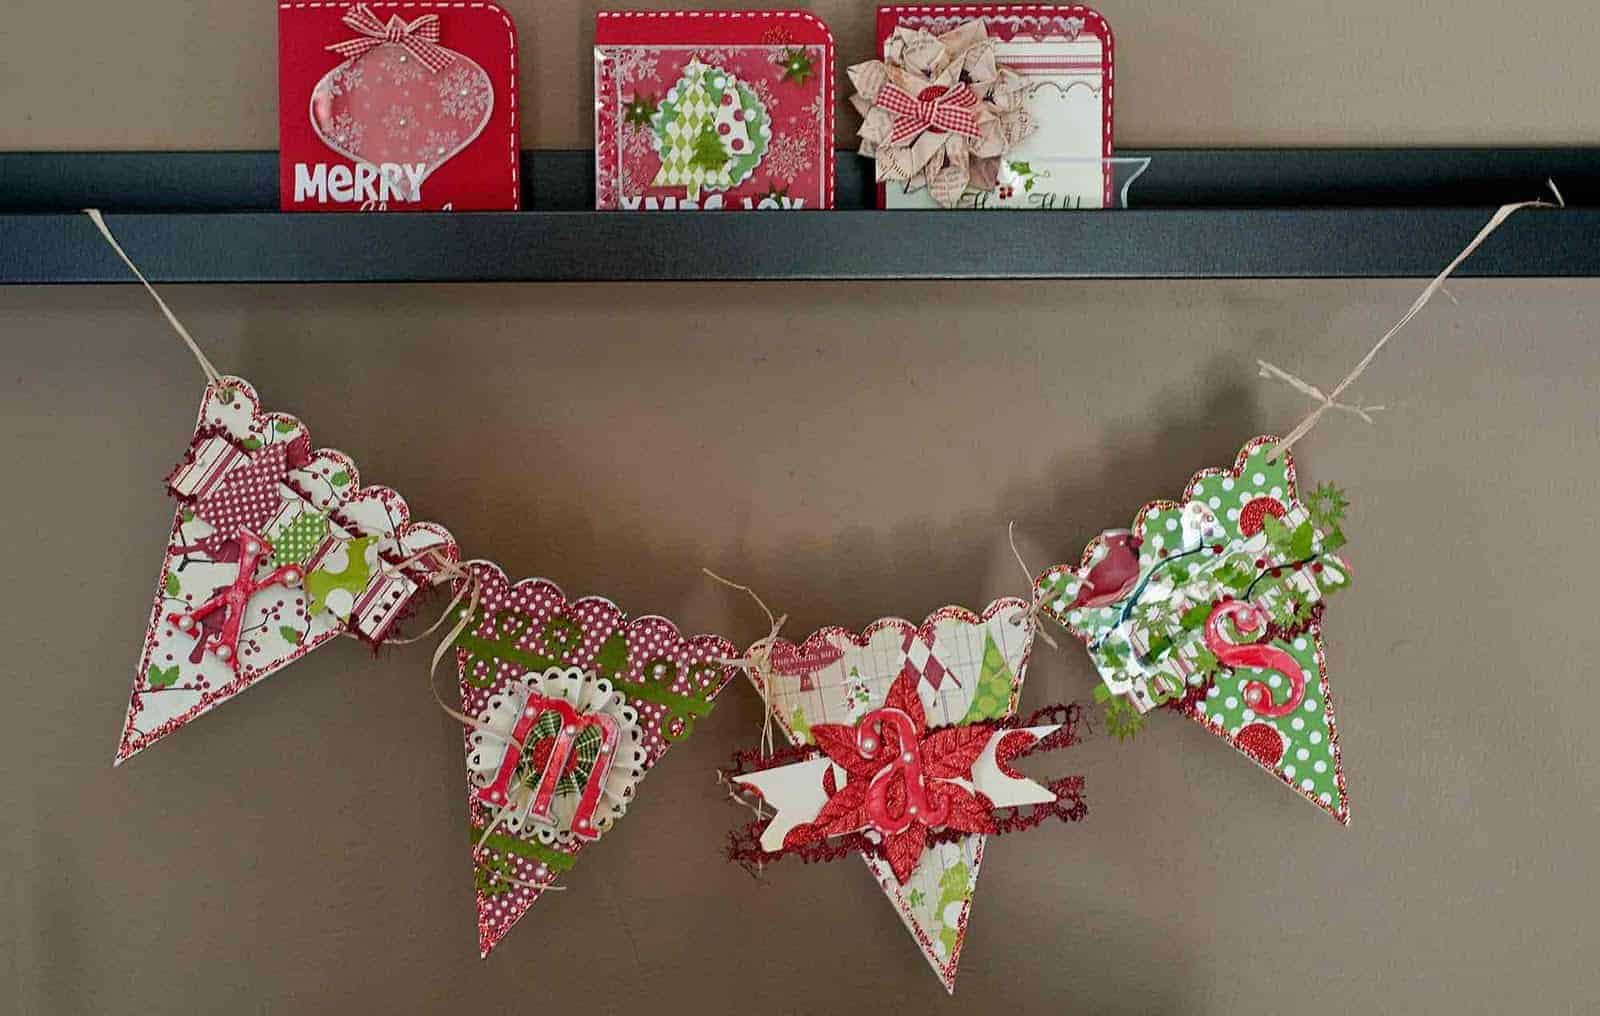
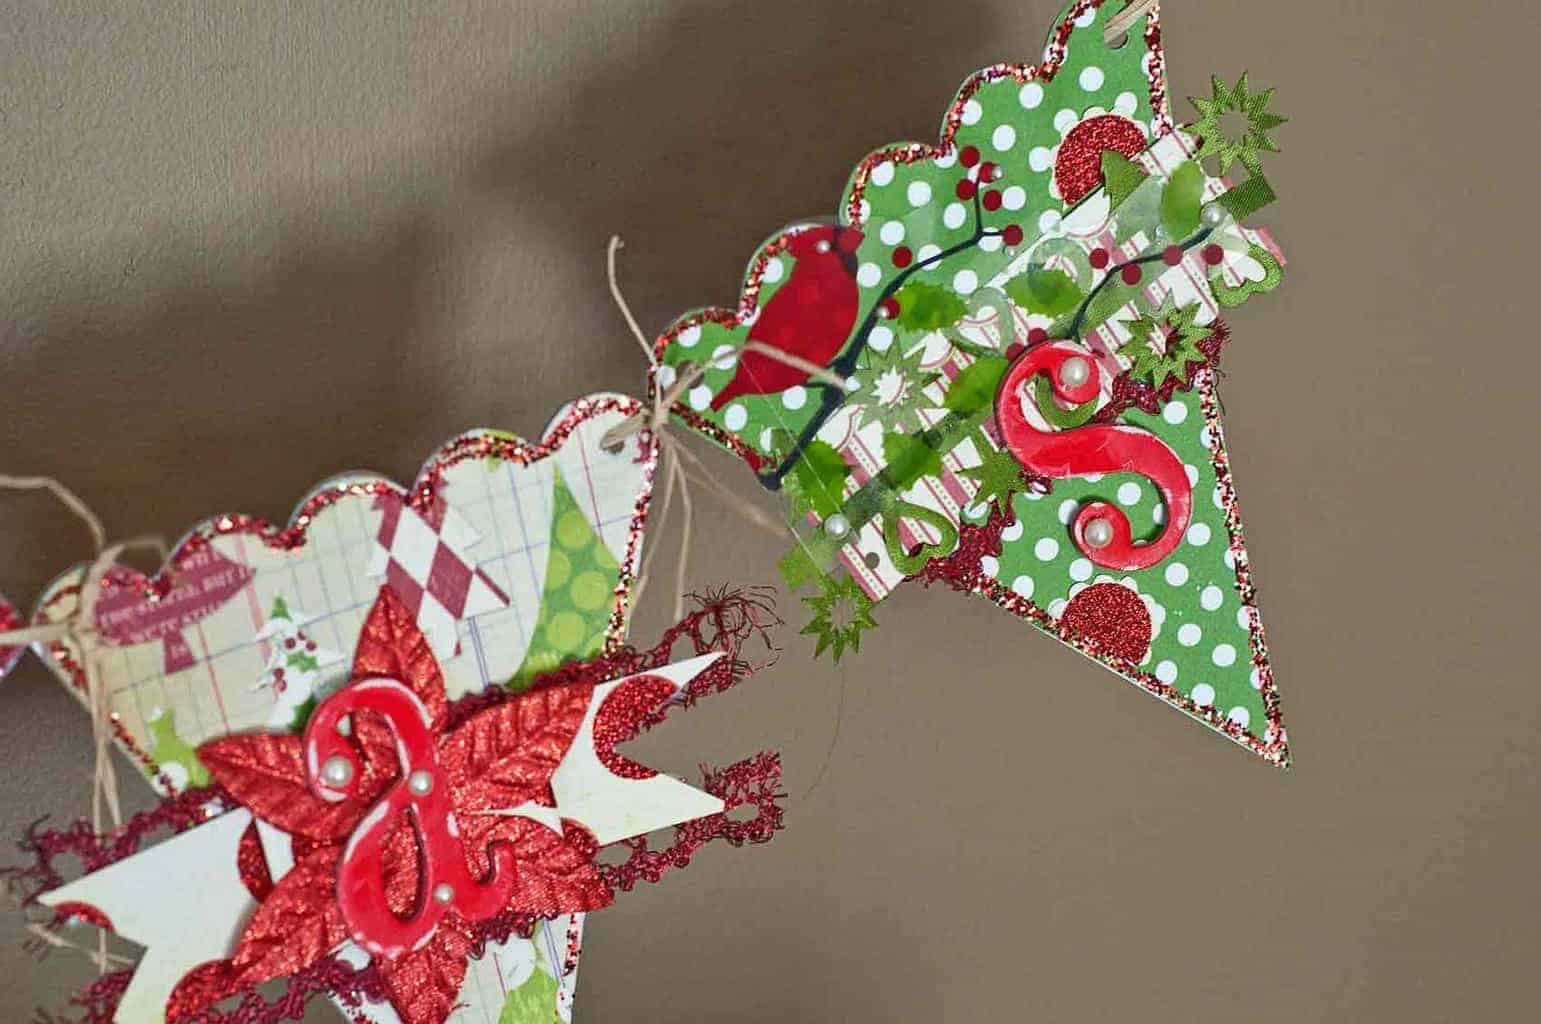
I wanted to use my star as a prominent decor piece on the wall as you enter my home. So I simply used some blue-tac and stuck it right onto my wall. Underneath that, I have an IKEA frame shelf, which I emptied and filled up with some homemade Christmas cards. And underneath that, I simply hung a Christmas banner that I created with my scrapbook goodies.
This is the end result – I’m loving it!
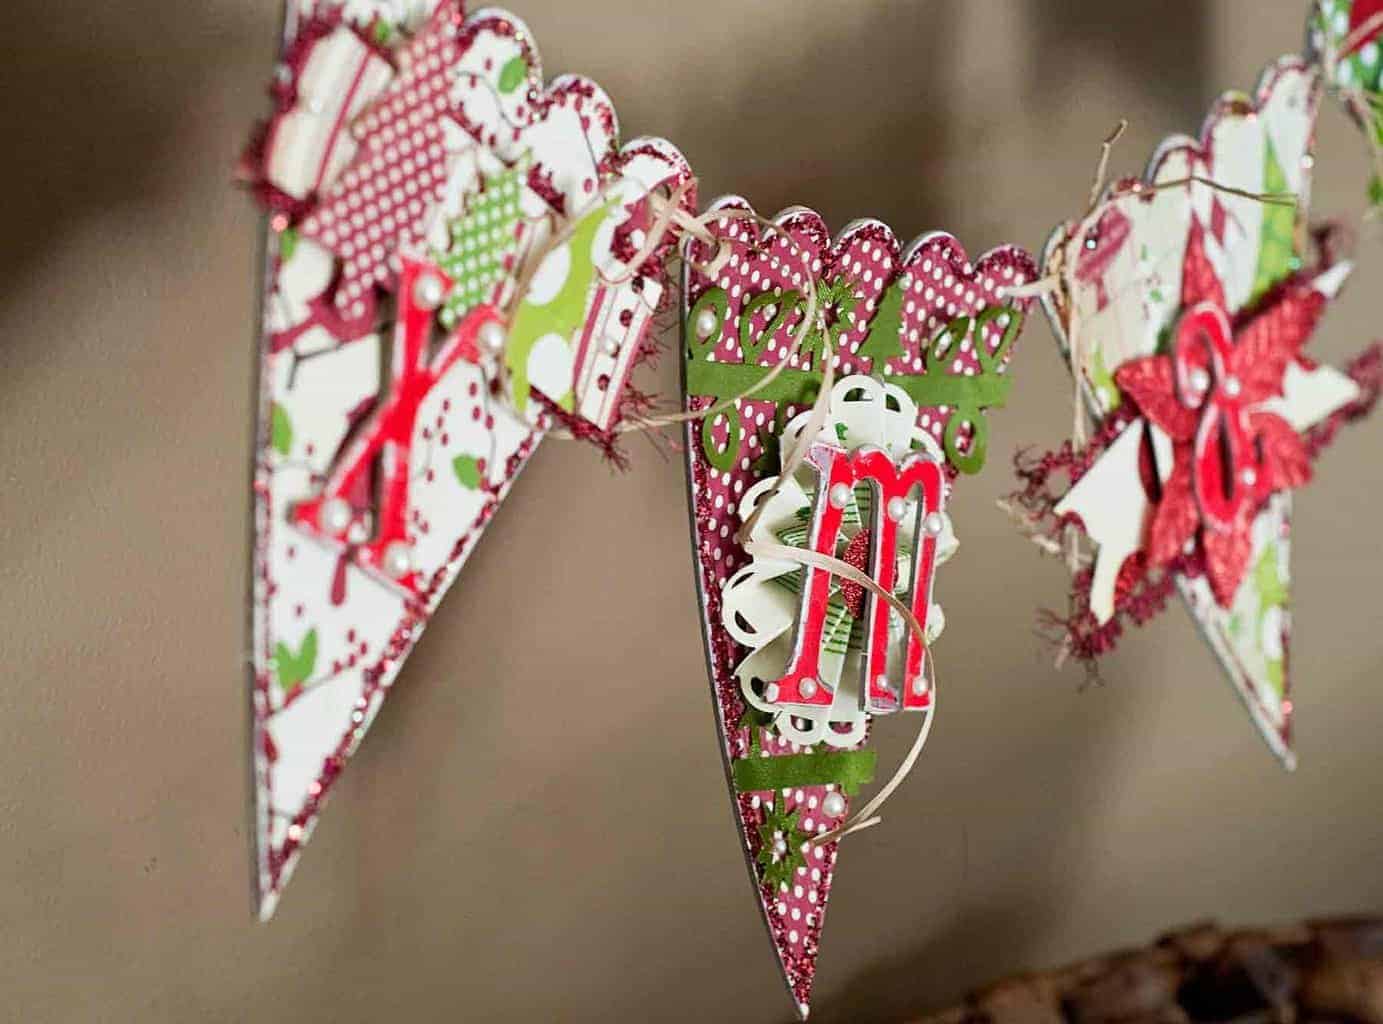
To save some time, you can always use your die cutting machine to cut out your squares for you – especially if you are planning on making more than one of these stars. A die cutting machine is really handy if you want to cut out some chipboard flags for your banner as well.
Leave me a comment:
via The Best Vinyl Cutters | Reviews & Guides https://www.thebestvinylcutters.com/tutorial-diy-3d-paper-christmas-star/
