Here is a List of the Best Places to Buy Iron-On Vinyl!
I love the internet, do you know why?
Because you can save so much money when you purchase things online.
It makes sense as the brick-and-mortar stores all have more overhead costs, so it is pretty smart to look towards online stores if you wish to find the best value iron-on vinyl buys.
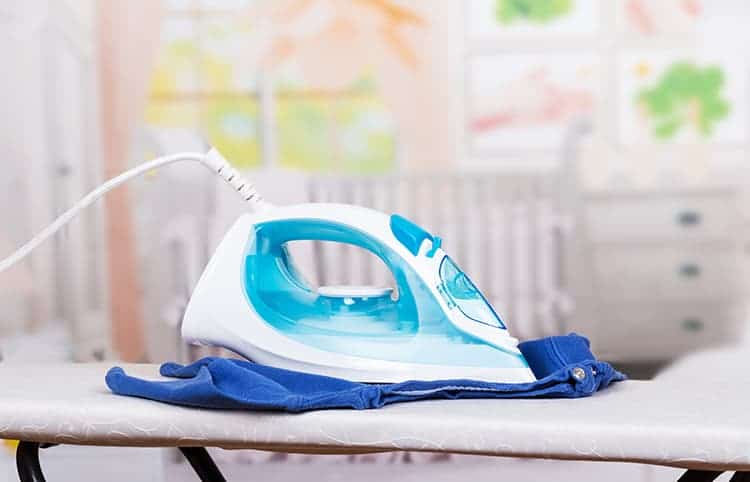
What you can keep in mind is that you can in actual fact iron-on all heat transfer vinyl. We personally prefer to stick to vinyl that has specifically been designed for irons, rather than heat press machines though and you won’t find a lot of them on the market.
So where do I buy my iron-on vinyl for my vinyl cutting machine ( https://www.thebestvinylcutters.com/best-vinyl-cutting-machine/)??
Here is a list of some of the best places to buy your iron-on vinyl.
Best Places to Buy Iron-on Vinyl Online
1. Cricut Website
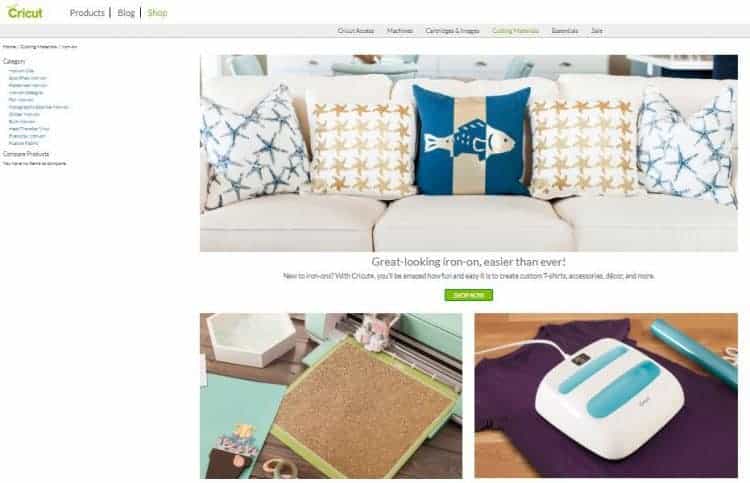
Cricut has a fabulous iron-on vinyl range out. We also love that they have some beautiful specialty iron-on vinyl available in glitter, foil or holographic. Cricut states that their iron-on vinyl will outlast 50+ washes which is pretty good for an iron-on style vinyl.
We love purchasing our vinyl supplies at Cricut because they have very regular sales on their tools, accessories, and supplies.
Check out their video on Circut Iron-On Vinyl below:
Because I love my readers so much, I’ll share two money saving tips!
Iron-On Vinyl Types Available:
If you want to purchase more than just a few vinyl sheets, we highly recommend that you pop over to Cricut. However, if you are only chasing a single sheet of vinyl, we suggest you head over to Amazon.
>>> Click here to see the Cricut Iron-On range and to check prices
2. Amazon
Amazon is brilliant if you know that you will only be purchasing a small selection of vinyl goodies, because you can easily fill your basket with other non-crafty products as well. You will find any and all types of vinyl available at Amazon.
Because I love my readers so much, I’ll share a money saving tip!
We highly recommend that you invest in proper iron-on designed vinyl if you know that you will be using an iron for your projects. If you have a Cricut Easypress you can expand by purchasing any Heat Transfer (HTV) vinyl currently on the market. But truly Cricut has such a lovely range out that I don’t think you need to look any further! My favorite is the Cricut iron on glitter vinyl – soooooooo pretty!
Have fun shopping and have a fun time with your lovely projects.
via The Best Vinyl Cutters | Reviews & Guides https://www.thebestvinylcutters.com/best-place-to-buy-iron-on-vinyl/

Posted on July 12th, 2018
What is Oracal 631 Vinyl and What is it Used For?
Oracal 631 is one of the most popular choices of vinyl. It is a great choice as it very versatile and can be used with any vinyl die cutting machine.
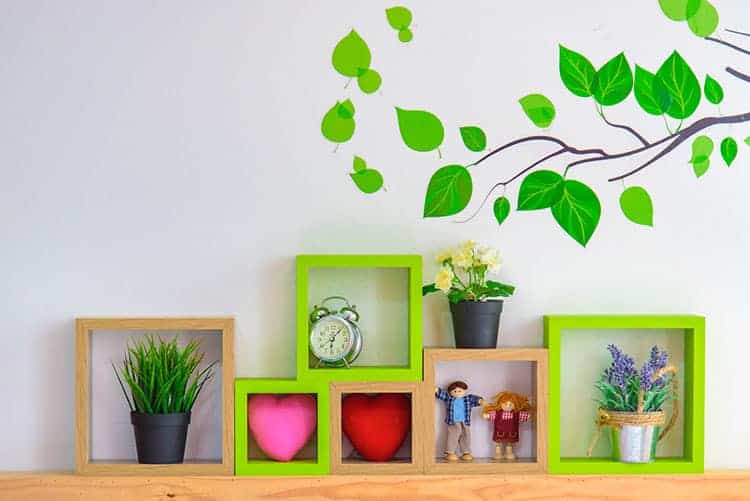
We love Oracal vinyl because even though it is similar to other brands of vinyl, such as Cricut vinyl, it cuts and weeds more easily and is more durable.
So let’s have a closer look at what the specs are on Oracal 631, what we can use it for, as well as where we can buy it online.
What is Oracal 631 Vinyl?
Quick Specs:
More Detail:
1. Finish:
The 631 vinyl only comes in a matte finish. A matte finish is fabulous if you don’t want any glare or reflections on your products. For example, wall decals are best in matte as a gloss would be too distracting.
2. Adhesive: The vinyl has specifically been designed for short- to medium-term applications. It uses a clear, water-based, removable adhesive. This is great as you can remove the sticker without causing damage to your surface or paint, it also won’t leave any residue behind either.
This is perfect for wall decals or temporary signage because you can remove it without damaging your paint or leaving a residue.
Since it is water-based, it is not suited for projects that are cleaned frequently, like dishware or anything exposed to a lot of water.
3. Durability: 631 Vinyl is an “indoor vinyl”. It doesn’t have the best weather resistant features, which is why it is termed as ‘indoor’. You can still use it outdoors, but you just can’t expect it to last for much longer than 1 years outdoors, whilst you will get at least 3 years (but most likely much more) indoors.
4. Thickness: Oracal 631 is 3 mil (3 thousandths of an inch) thick. In comparison to Oracal 651, 631 is 20% thicker.
5. Waterproof: The vinyl is more water resistant than waterproof. It also doesn’t have a great UV-resistance.
What is Oracal 631 Vinyl Used For?
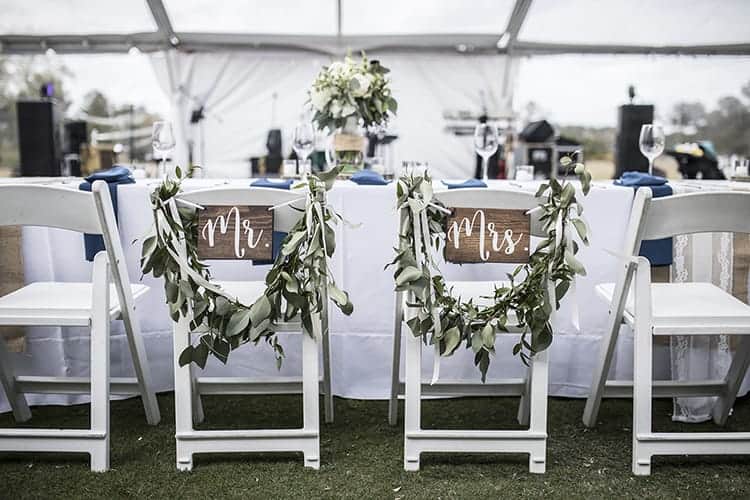
Oracal 631 is fabulous for surfaces that won’t get handled a lot. As the stickers are removable, you don’t want to use them on objects that get touched and moved on a regular basis as this would affect their durability.
Our main uses for Oracal 631 include making wall decals (especially great for themed holiday decals such as Easter or Christmas), indoor signs (think about parties or special events), decorations (objects that will sit on a shelf) etc. It is also great for making business names and removable logos for trade shows and exhibitions.
We also love using this vinyl to create our own stickers for scrapbooking and card-making.
Oracal 631 Uses
Best Places to Buy Oracal 631 Vinyl?
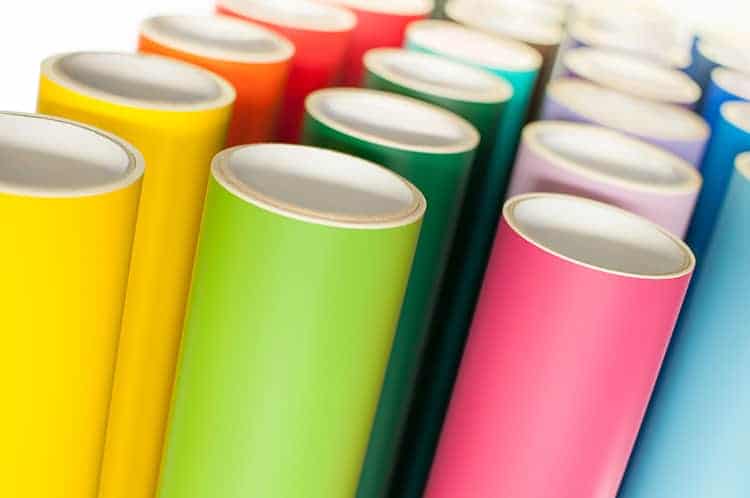
1. Expressions Vinyl: What better place to buy your vinyl than from a store that is dedicated to vinyl!! Expressions Vinyl is very popular as they carry the best quality vinyl brands. They have Oracle 631 vinyl available in 12 x 12″ and 12 x 24″. They also have some Oracal 631 vinyl rolls as well as a color sample kit available. They are the cheapest supplier and we typically purchase our vinyl here.
2. Happy Crafters: Your whole shopping experience at this site is just a joy and you truly feel like a valued customer. You can grab 12 x 12″ and 12 x 24″ 631 vinyl here. They only have 25 colors available and the price is slightly higher than Expressions Vinyl above, but we still love shopping here as well.
3. Amazon: If you only need a few sheets of vinyl, you might prefer purchasing it on Amazon instead, that way you can bundle up your order with other goodies that you might be in need. Of course if you are a Prime member, you can also benefit from the superfast 2-day FREE shipping.
Examples:
These pink, mint, and gold polka dots created by @la_piep really add a fun splash of color to this room.
Product used: ORACAL 631
.#oracal631 #oracal #orafol #wallgraphics #polkadots #dots #interiordecor #interiorspaces https://t.co/TCX6oIQQRA pic.twitter.com/2NAzoDPHn3
— ORAFOL Americas (@ORAFOL_Americas) February 12, 2018
This is the perfect decal to lead us into the weekend.
Created by @fairydustdecals
Product used: ORACAL 631
.#oracal #oracal631 #walldecal #wallgraphic #decal #decals #wander #wanderlust #notallwhowanderarelost #readyfortheweekend https://t.co/do9xnkdjVY pic.twitter.com/JWzpGOjyNW
— ORAFOL Americas (@ORAFOL_Americas) January 19, 2018
This #ORACAL631 installation at the World Trade Center is absolutely breathtaking with NYC… https://t.co/aHGsggDkW2 pic.twitter.com/jKWvCERJMI
— ORAFOL Americas (@ORAFOL_Americas) January 16, 2017
Further Reading Ideas:
via The Best Vinyl Cutters | Reviews & Guides https://www.thebestvinylcutters.com/what-is-oracal-631-vinyl-used-for/

Posted on July 9th, 2018
What is the Best Adhesive Vinyl and Where can you Buy It?
Adhesive vinyl is a brilliant product! It is a truly versatile material that has so many different uses. From attention-grabbing signs to professional logos to wall and window decals.

This type of vinyl can adhere to most flat or curved surfaces. You can stick it on to plastic, metal, painted wood, aluminum and more. We love working with adhesive backed vinyl as it is easy to apply and is also removable.
It is important though to know which type of adhesive vinyl matches up to which type of project, so today we want to talk about what the best adhesive vinyl is for different styles of projects.
What is Adhesive Vinyl?

Before we hop into discussing which brand and type of vinyl are best, let’s have a quick look at what adhesive vinyl is.
Basically adhesive vinyl is pretty similar to a sticker. It is flexible, versatile and can be cut into any shape. It has an adhesive that is pressure sensitive and it is durable and water-resistant in order to withstand temperature changes and general wear and tear.
It is important to note that adhesive vinyl is applied like a sticker and does not require heat in order to stick. The vinyl that requires heat is called HTV or heat transfer vinyl which is generally used to apply designs to fabric such as T-Shirts.
The good news is that you can cut adhesive vinyl on any vinyl machine.
What is Adhesive Vinyl Used for?
Self-adhesive vinyl is typically used for signage and home decorating purposes.
Examples include display advertising materials, removable wall, window, and car decals, as well as company name or logo stickers. It can also be used to create some low-cost adhesive vinyl tiles for your home.
Types of Adhesive Vinyl
Now that you know what you can use the vinyl for, let’s have a quick look at the different types of adhesive vinyl.
There are two main kinds of self-adhesive vinyl: removable and permanent
1. Removable Vinyl (Indoor Use)

Removable vinyl is … you guessed it …. removable. You should choose this type of vinyl if you know that you will want to change it later. Think about themed/holiday wall and windows decorations etc. Great for indoor surfaces that won’t get handled a lot, such as wall or windows. Professionals often talk about this type of vinyl as ‘631’. Also important to know that is has a matt surface.
2. Permanent Vinyl (Outdoor Use)

When you need to create a sticker or decal that needs to be handled a lot or that will be exposed to weather elements, it is best to go with the ‘651’ aka permanent vinyl. This type of vinyl has a stronger adhesive and whilst it can be removed, you will most likely destroy the surface if they try to pull it off.
Think about using this type of vinyl for car decals, cups or tumblers, or signs that are outside. Whilst the removable vinyl has a matte finish, the permanent one is glossy.
3. Speciality Adhesive Vinyl

Whilst you will most likely only use one of the two types of vinyl mentioned above, you can also find specialty adhesive vinyl for super special projects. These include:
What is the Best Adhesive Vinyl and Which Brand is Best?
Now to the main questions of the day: what is the best adhesive vinyl? And which brand is best?
We mainly love using Oracal adhesive vinyl. Siser just released a line of adhesive vinyl as well, and Cricut has a decent selection out as well. So let’s have a quick look at these three brands.
1. Oracal Adhesive Vinyl

Oracal is one of the best brands when it comes to vinyl. All these numbers we attach to vinyl? They are Oracal numbers. So whilst other brands might talk about removable or permanent vinyl, it is Oracal that talks about 631 or 651.
Oracal produces great quality vinyl, that is easy to cut, easy to weed and that is durable. It is also cheaper than the Cricut vinyl mentioned below.
Where can you buy your Oracal Vinyl? We love grabbing ours from Expressions Vinyl. They are the cheapest and have a great selection of colors and sizes available.
2. Siser EasyPSV Vinyl

Siser is well known for the high-quality heat transfer vinyl, so we were all super excited when they recently started producing their own adhesive vinyl range called Easy PSV. Their vinyl is top notch quality and we love the range of adhesive vinyl that they have released: permanent, removable, glitter, etch, glow and chalkboard. You can check out their prices here.
3. Cricut Vinyl
Those who into crafting rather than using vinyl for business or professional reasons might prefer grabbing their adhesive vinyl from Cricut itself. That way you can grab a few of their other supplies and tools whilst you are at it. Cricut vinyl is great and you can almost always find a sale of some sort on their site.
Tip: Sign up for their newsletter to get a $10 off voucher to use on your first purchase of $50+, and become a member to receive free shipping on orders of $50+.
4. Other Brands
I really would suggest you avoid any cheap brand of vinyl. Adhesive vinyl is really one of those products where paying cheap prices will give you crappy quality vinyl and you will regret it when the vinyl starts peeling off before long or starts fading in the sun. Invest in a well-known brand name and you can’t go wrong though!
I’m hoping that you have your head wrapped around self-adhesive vinyl now, but if you have any questions please don’t hesitate to leave them in the comments below.
Further Reading Ideas:

Posted on July 4th, 2018
The Best Place to Buy Vinyl for Cricut Machines [Value Buys]

Posted on July 2nd, 2018
The Best Tools and Accessories for Adhesive Vinyl Projects
We all know how important it is to have the right tools to get a project done in a quick and professional manner. The right tools will also save you from getting frustrated and annoyed as you struggle through even the simplest of steps.

If you want to keep life easy whilst working with adhesive vinyl, we suggest that you have the following tools and accessories on hand. We will explain what each tool is needed for and give you some easy to follow links to check out their prices online.
The Best Tools for Adhesive Vinyl Projects
1. A Vinyl Cutting Machine

Invest in a decent vinyl cutting machine. These machines can cut vinyl with ease, leaving you with professional designs. They are easy to use and honestly worth every single dollar. Find our favorite vinyl die cutter (https://www.thebestvinylcutters.com/best-vinyl-cutting-machine/) on our buyer’s guide.
2. Weeding Tools
Once you have cut your design with your machine, you will need to weed the excess vinyl away.
On our website, we explain what weeding is:
Weeding is a process in which the unnecessary excess vinyl is removed from a design sheet. It can be particularly tricky to remove intricate detailing, especially when working with small designs. Other issues that you might come across include having problems on vinyl lifting from the backing and/or paper tearing in this process. See full post here.
Here is a list of our favorite tools for weeding:
i) The Cricut Tools Basic Set
We love the Cricut Tools Basics as it includes scissors, a scraper, tweezers, spatula and a weeder.
• Tweezers to lift and secure delicate material
• Weeder to remove tiny negative cuts
• Micro-tip scissors with protective blade cover
• Spatula to lift cuts from the mat
• Scraper to burnish material and clean all cutting mats
>>> Click to see pricing for this set on Cricut
ii) Cricut Weeder Tool Set

Another great set of tools for working with vinyl is the Cricut Weeding Tool Set. This kit has all the essential tools for when you do some beautiful intricate weeding work. It has five pieces: fine tweezers, hook tweezers, the classic weeder, piercing tool and hook weeder. These tools allow you to lift, remove, and place the most intricate cuts with speed, ease, and accuracy. The variety of tip styles and angles allows you to work with efficiency.
>>> Click to see pricing for this set on Cricut
iii) Scraping Tool

A scraping tool is pretty much essential and I can guarantee that you will use it every single time you do vinyl projects. A scraper is used to burnish the tape onto the vinyl backing to ensure that the design will get picked up when you peel the tape away. You will also use it to burnish the design onto the surface.
Fortunately, scraping tools are pretty cheap. I love to have a few scraper tools around, that vary in width. The Cricut Tools Basic Set has a small scraper in it which is great for small designs, but I also love to a large-sized scraper around as well.
>>> Click to see pricing for a nice large scraper
3. Transfer Tape
You can’t work with vinyl and not have some good quality transfer tape on hand.
Transfer tape is kinda exactly what it says, it is a tape that allows you transfer your design from the vinyl sheet to the surface that you want to apply it to.
The type of transfer tape that you should buy really depends on the type of vinyl you are using. Transfer tapes come with varying strength of stickiness. You can also find a clear tape that will help you to see where you are applying your design, others have grids on them to help you keep things straight.
You want to find a tape that is strong enough to pick up your design from your vinyl backing, but that is giving enough to release your design once you apply it to a surface.
Here are some popular transfer tape brands:
i) Cricut Transfer Tape
You can choose to purchase either the regular or strong grip tape. You only really need the strong grip for specialty vinyl such as glitter or flock. The tape is 12 x 48″ and has a grid to help you keep things nice and straight.
Here is a quick video to show you how to use the Cricut StrongGrip Transfer Tape with glitter vinyl.
>>> Click to see pricing for the Cricut Tape
ii) Angel Crafts Transfer Tape
We love Angel Crafts Tape as you can get them in different sizes. You can also get them in either clear or white or their premium quality means that you will also have a clean transfer. They also have grids on them to help you keep your designs straight.
The tape comes in a 12 x 8″ size, 3 x 25″ or a 6 x 50″ size. As a tip it is always important to be generous with your transfer tape, make sure you have plenty of excess tape around your design.
>>> Click to see pricing for this brand on Amazon
4. A Light Pad or Table

A light pad is brilliant when you are working on intricate or specialty vinyl designs. The light will help you see the cut lines which will help you pick out all the right bits and pieces as you weed.
We really love the Cricut Bright Pad. The pad is affordable and honesty it just makes weeding easier, which means you can do it quicker. The pad does a brilliant job of illuminating those hard-to-see cut lines.
>>> Click to see pricing for Bright Pad on Cricut
Of course, there are plenty of other handy tools and accessories that you could invest in, but these are the most crucial and the most beneficial in my opinion. And I honestly believe that too many tools are sometimes a bad thing as you can get confused about which tool you should be using it.
I would love to know though: Is there a tool you would recommend that I didn’t mention?
via The Best Vinyl Cutters | Reviews & Guides https://www.thebestvinylcutters.com/best-tools-adhesive-vinyl/

Posted on June 27th, 2018
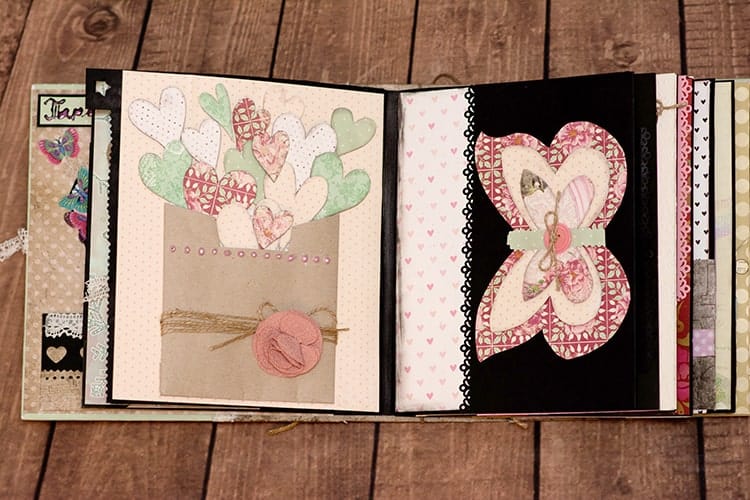
Scrapbooking: Everything you Need to Know About Die Cutting Machines
If you are a scrapbooker I bet you have heard about die cutting machines. These machines are all the rage these days, and deservingly so!
You cannot pass up the accuracy and intricacy of cuts that you can achieve with a die cutting machine. They simplify the creation process and they allow you to create some professional embellishments for a cheap price (in the long run).
Instead of purchasing pre-made embellishments, I could make some of my own for this layout below.
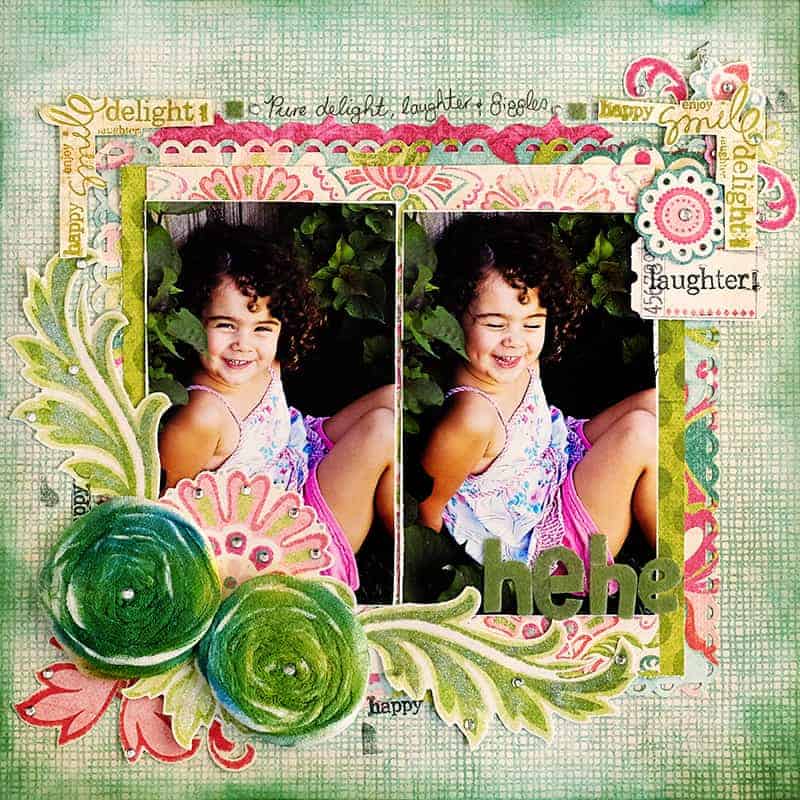
Now I’m going to assume that you are here because you already know how incredible these machines are. I’m also going to assume that you just want to learn a little bit more about these machines before you take the dive to purchase your very own machine. So here it is, our beginners guide to die cutting machines for scrapbookers.
Die Cutting Machines and Scrapbooking: A Beginners Guide
What material can they cut?
Die cutting machines are brilliant tools for papercrafts, cardmaking and scrapbooking. They are super versatile and they can cut shapes from a wide range of materials, such as:
What can you make?
There are so many different things you can make with a die cutting machine, from labels, flowers, cards, boxes, decorative borders and more. Here is a video to give you some more ideas.

How does it work?
Die cutting machines are essential cutting tools to help you create intricate designs and patterns with the use of dies or electronic cut files.
What types of die cutting machines are there?
There are two main types of die cutters – manual and digital. Let’s quickly have a look at both of these:
1. Manual die cutting machines
The following post on our website explains a manual machine nicely!
A manual machine works manually with a crank (with some good old arm power). An easy comparison is to compare a manual machine to a simple paper punch. The beauty of a machine though is that you only have to purchase one device and then you can purchase dies (the shapes you want to cut) separately so that you can cut a large variety of shapes with one machine and multiple dies. See full post here
2. Electronic or digital die cutting machine
The following post on our website defines what an electronic machine is.
Materials are cut similarly or closely in the way a printer prints. Ultimately while using this machine, your designs will be sent directly to the digital cutter from your computer or tablet, where your created designs are made. See full post here
What are this year’s best die cutting brands?
Now that you have a quick and brief overview of the machines, let’s have a look at some of the most popular brands and models currently on the market. Listed from latest released machines to oldest:
1. The Cricut Maker – This is the newest machine on the market. It is an electronic machine and due to its incredible versatility, it is pretty expensive. You only really need to invest in this machine if you plan on cutting a lot of fabric. You can read our review on the Cricut Maker here.
2. Silhouette Cameo 3 – The Cameo 3 is one of our best selling machines. Again, it is a digital machine which means that you can cut pretty much any shape under the sun. It can also cut over 100 plus materials! Cheaper than the Cricut Maker, if you are after a digital machine, this is one of our favorites. Click to read the Cameo 3 review here.
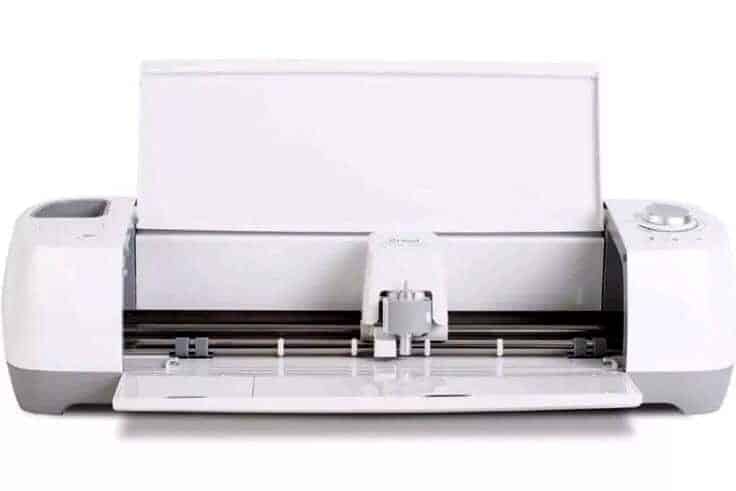
3. The Cricut Explore Air 2 – Another fabulous digital die cutter by Cricut. This one is slightly older than their Maker, but we absolutely love the price of this machine. You can also save loads of money by grabbing one of their bundle deals.
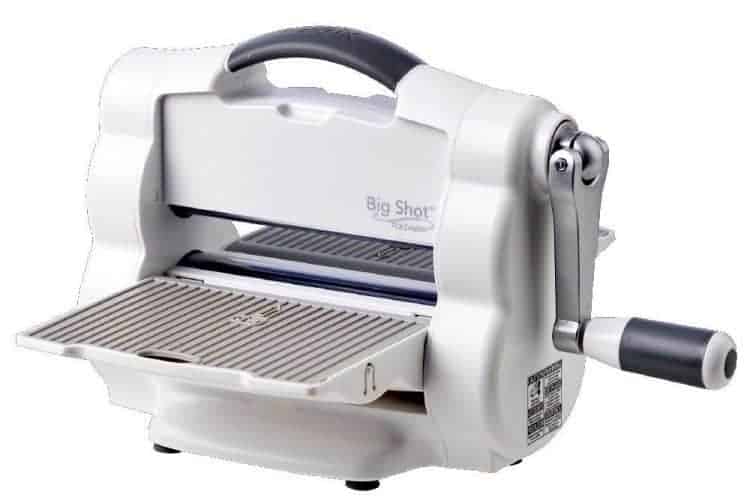
4. The Sizzix Big Shot Die-Cutting Machine – After a truly affordable machine and don’t mind a manual crank-operated cutter? The Sizzix Big Shot is an oldie but a goldie and is still one of the most loved machines by beginner scrapbookers.
There are several other die cutting machines that offer various features that you will find beneficial. You can find our post on the best die cutting machine here. Have a browse and keep the following points in consideration:
Die cutting machines are one of the best tools for craft-making, scrapbooking, and even quilting. It is a worthwhile investment and whilst it will cost a bit to get started, over the years to come it will actually save you loads of money.
Any Questions? Please leave them below.
via The Best Vinyl Cutters | Reviews & Guides https://www.thebestvinylcutters.com/scrapbooking-die-cutting-machines/

Posted on June 24th, 2018
Different Types of Cricut Mats: Which Mat is Best for What?
If you are new to cutting your might be slightly confused about the different types of Cricut Mats available to purchase. It can be pretty confusing trying to figure out which mat you should use for your projects. But it is important to match up the correct mat with the right materials.
Don't worry, though as we are going to make it all super easy for you!
Cricut Mat Types and Grips
Watch the video below to get a quick overview of the 3 main types of Cricut mats together with their grips.
1. Mats and Their Grips
As seen in the video above, the cutting mats have been designed with a focus on grip. What material you are cutting will make a huge difference in which mat you will want to choose.
For example if you are using thin paper with a strong grip mat, you will most likely tear your design whilst trying to remove it from the strong-grip sticky mat.
Here is a quick explanation of the mats, their grip and the material you should be using with them:
1. The LightGrip Cutting Mat:
The blue LightGrip Cutting Mat has just enough sticky grip to hold material firmly in place during cutting, yet it allows for easy removal of the lighter weight material when you are finished cutting.
2. The StandardGrip Cutting Mat:
The green Cricut® StandardGrip Cutting Mat will most likely be the one that you use most frequently. This mat is perfect for cutting medium-weight materials, and it also has the perfect amount of grip that makes for easy removal of your material.
3. The StrongGrip Mat:
The purple StrongGrip mat is brilliant for heavyweight materials. You need the strong sticky grip in order to keep the thicker material as the machines have to apply more pressure to cut through these materials.
4. The FabricGrip Mat:
The pink FabricGrip mat has specially been created to allow those with a Cricut Maker to cut through even the thinnest of materials without the need for fabric stabilizer.
2. Main Types of Cutting Mats Comparison Table
Find below the 4 main types of Cricut Mats on the market together with a suggestion of which types of material you should cut on each.
Cricut Mat
Purpose of Mat
Machine
Cricut® LightGrip Cutting Mat
White Printer Paper
Vellum
Light Cardstock
Thin Scrapbook Paper
Washi Tape Sheets
Wrapping Paper
Works with Cricut Explore and Cricut Maker Machines
Cricut® StandardGrip Cutting Mat
Cardstock
Textured Paper
Embossed Cardstock
Iron-On Vinyl
Vinyl
Works with Cricut Explore and Cricut Maker Machines
Cricut® StrongGrip Cutting Mat
Thick Cardstock
Glitter Cardstock
Magnet Material
Chipboard
Poster Board
Fabric with Stiffener
Corrugated Cardboard
Faux Leather
Faux Suede
Works with Cricut Explore and Cricut Maker Machines
Cricut® FabricGrip Cutting Mat
This mat can cut fabric without a fabric stabilizer
Only works with the Cricut Maker Machine together with the Rotary Blade or Bonded-Fabric Blade
3. Mat Sizes
You have the option of either purchasing the 12 x 12" Cricut Mat or the larger 12x24" Cricut Mat. Both of these sized mats work in all the Explore Machines as well as the Cricut Maker machine. So sizing is truly dependent on the size of the projects that you will be working on.
Hopefully you have a clear picture now of which mat you should be using with each type of project that you enjoy creating.
Our recommendation is that you invest in a Cricut mat bundle. That way you always have the right mat on hand, no matter which material you might be choosing to work with.
Addition Resources:
After more tips of how to use the FabricGrip Mat with fabric? Read Cricut's post on the FabricGrip mat: Tips and tricks.

via The Best Vinyl Cutters | Reviews & Guides https://www.thebestvinylcutters.com/types-of-cricut-mats/

Posted on June 21st, 2018
How To Weed and Transfer Vinyl Easily [Expert Tutorial]

Posted on June 15th, 2018
The Best Vinyl Cutting Machine Links
Your one-stop craft & DIY resource site to vinyl cutters, die cut machines, fabric cutters and heat press machines.
Check us out on the web here:
- The Best Vinyl Cutters Website
- G+ Profile
- G+ Page
- YouTube
- Blogger
- WordPress.com
- Gravatar.com
- Tumblr.com
- Twitter.com
- Diigo.com
- Evernote
- Getpocket.com
- OneNote.com
- IFTTT.com
- Weebly
- Medium.com
- Pinboard.in
- About.me
- Instapaper.com
- Disqus.com
- Society3.com
- Postach.io
- Ello
- NimbusWeb
- Trello
- Alternion
- 500px
- Behance
- Yelp
- Pearltrees
- Brandyourself
- Wiseintro
- Itsmyurls
- Dribbble
- Thenounproject
- Quip
- Magcloud
- Newsblur
- CraftGawker

Posted on June 11th, 2018


